


 GPro 100W
 GA 100W
 GM Pro 60W
 Reno 65W
 Reno 65W Pro
 Reno 45W

Crafting the Perfect Laser Engraving Artwork Design with a Wood Engraving Machine
8%
off
Hurry! Offer Ends Soon!
CODE: AUBLOG888
COPY
CODE
CODE
Getting started with a wood engraving machine can feel a bit overwhelming at first, especially when you’re trying to nail the perfect laser engraving artwork design. You’ve got ideas in your head, maybe a logo, maybe something custom, but turning that into a clean, sharp engraving on wood… that’s where skill meets the right process.
This guide walks you through how to actually design artwork that works well with a wood engraving machine, not just looks good on screen. We’ll keep it simple, practical, and real—no overcomplicated talk, just what works.
If you’re new or even been doing this for a while, you’ll pick up something useful here.
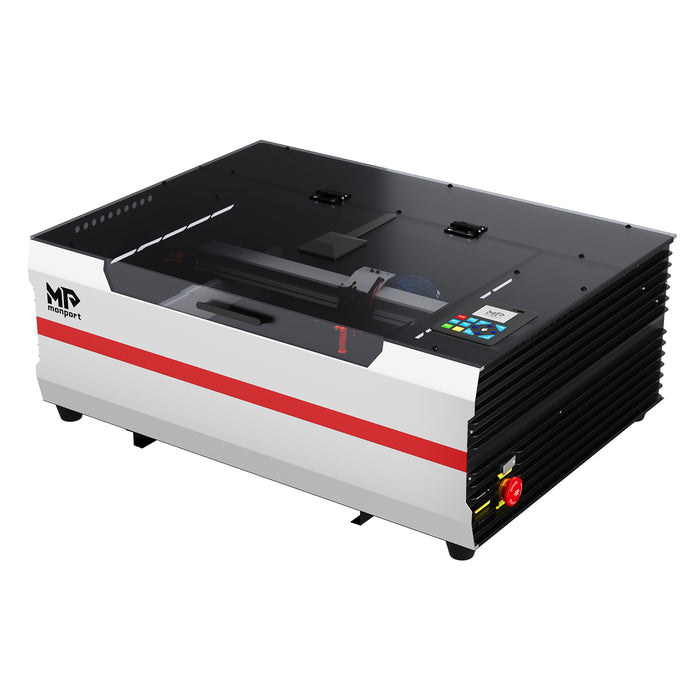

Understanding How a Wood Engraving Machine Works
Before jumping into design, it helps to understand how your wood engraving machine behaves. It doesn’t “print” like a printer. It burns material, line by line.
That means your laser engraving artwork design must consider depth, contrast, and detail differently.
What the Machine Reads
Your machine reads:
-
Vector lines (for cutting or scoring)
-
Raster images (for engraving photos or fills)
A good laser engraving artwork design balances both depending on your project.
Why Design Matters More Than You Think
Bad design = burnt blobs, uneven depth, wasted wood.
Good design = crisp lines, smooth shading, professional finish.
So yeah, your laser engraving artwork design is not just decoration—it controls the outcome.
Choosing the Right File Type for Laser Engraving Artwork Design
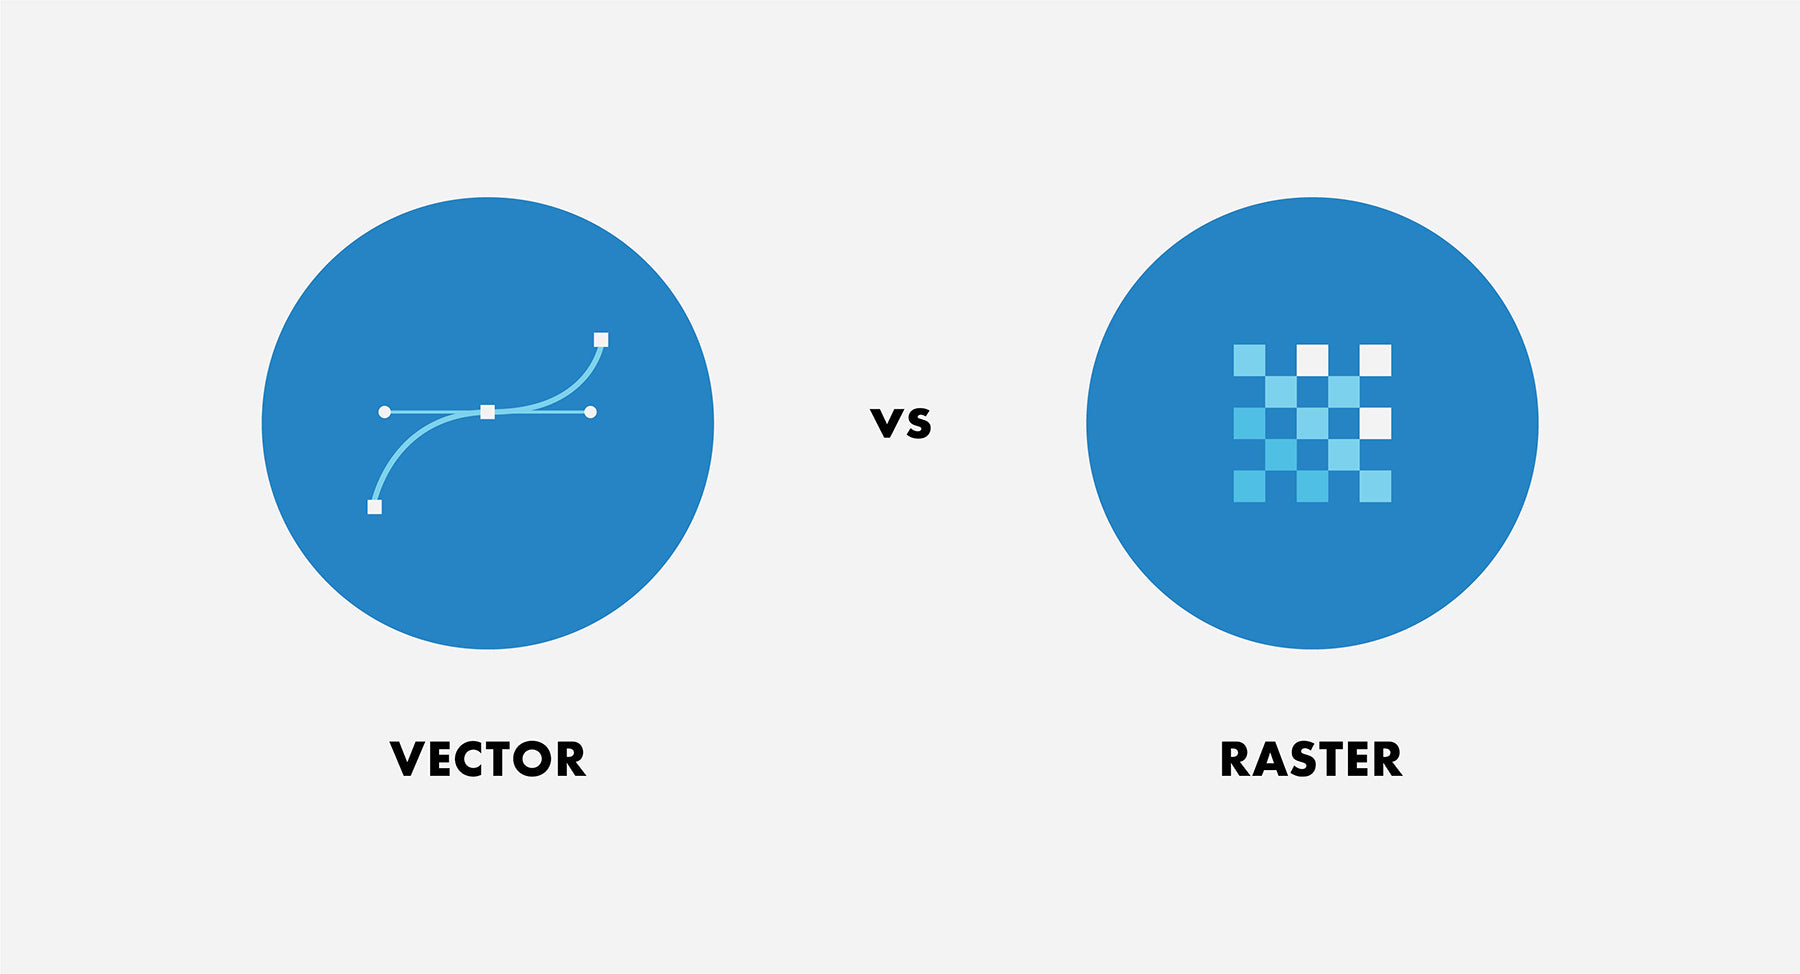
Not all files behave the same when used with a wood engraving machine.
Vector vs Raster
-
Vector files (SVG, AI, DXF)
Best for logos, outlines, clean shapes -
Raster files (PNG, JPG, BMP)
Best for photos or detailed shading
For most projects, you’ll combine both in your laser engraving artwork design.
Resolution Tips
-
Use at least 300 DPI for raster images
-
Keep lines clean and not overly thin
Low-quality inputs will always look worse on a wood engraving machine, no matter how good your machine is.
Designing for Wood: What Actually Works
Wood is not a perfect surface. It has grain, texture, and density changes.
That affects your laser engraving artwork design a lot.
Keep It Simple
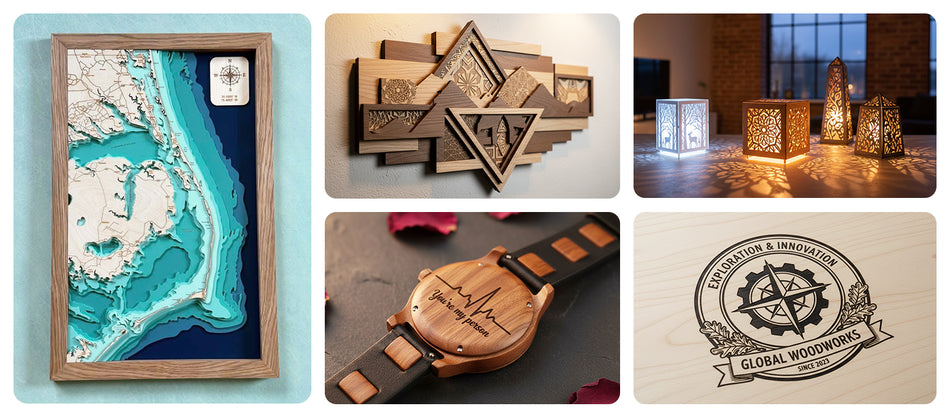
Overly complex designs often fail.
Better approach:
-
Bold lines
-
Clear contrast
-
Minimal clutter
A strong laser engraving artwork design doesn’t try to do everything.
Contrast is Everything
Your wood engraving machine creates contrast by burning.
So design with:
-
Black = deep burn
-
Grey = lighter burn
-
White = no burn
Test different shades before final engraving.
Mind the Wood Grain
Wood grain can distort details.
So when building your laser engraving artwork design, avoid:
-
Ultra-fine details
-
Tiny text
-
Dense patterns
Start Creating with the Right Machine

If you’re serious about improving your results, your machine matters just as much as your design.
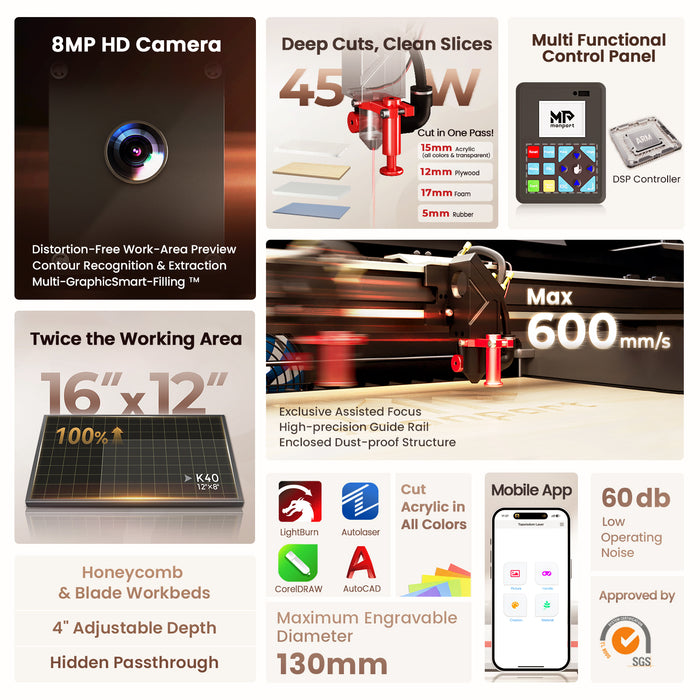
The Monport Reno45 Pro Vision 45W Desktop CO2 Laser Engraver & Cutter is built for creators who want accuracy without the headache.
Why it stands out:
-
8MP camera for precise positioning
-
Magnetic assisted autofocus (super easy setup)
-
Fast engraving up to 600mm/s
-
Handles batch engraving with smart filling tech
If you’re ready to level up your laser engraving artwork design, this is worth checking out.
Discover More and see how it can simplify your workflow.
Step-by-Step: Crafting a Laser Engraving Artwork Design

Let’s break it down into something you can follow.
Step 1: Start with a Clear Concept
Don’t just jump into software.
Ask:
-
What’s the purpose?
-
Who is it for?
-
What size will it be?
A focused laser engraving artwork design always performs better.
Step 2: Choose the Right Software
Popular tools include:
-
LightBurn
-
Adobe Illustrator
-
CorelDRAW
-
Inkscape
The Monport Reno45 Pro works well with all of these, making your wood engraving machine setup flexible.
Step 3: Set Dimensions Properly
Match your design size to your material.
For example, the Monport Reno45 has a working area of 16" x 12", so scale your laser engraving artwork design accordingly.
Step 4: Optimize Line Thickness
Too thin = won’t engrave properly
Too thick = looks messy
Test different stroke widths for your wood engraving machine.
Step 5: Test Before Final Engraving
Always do a small test burn.
Even the best laser engraving artwork design can behave differently depending on wood type.
Why Monport is a Strong Choice for Wood Engraving
When it comes to choosing a reliable wood engraving machine, Monport is becoming a go-to.
Precision and Camera Alignment
The 8MP camera gives a full preview of your workspace.
This helps align your laser engraving artwork design exactly where you want it—no guesswork.
Smart Batch Engraving
The multi-graphic smart filling tech allows:
-
Multiple designs at once
-
Automatic placement
-
Saved templates
That’s huge if you’re producing in volume.
Magnetic Assisted Focus
No complicated setup.
Just quick, accurate focusing that ensures your wood engraving machine delivers consistent results.
Strong Cutting and Engraving Power
With its 45W CO2 laser:
-
Cuts up to 15mm acrylic
-
Engraves wood cleanly and deeply
Perfect for detailed laser engraving artwork design work.
Common Mistakes to Avoid
Even experienced users mess these up.
Overloading the Design
Too many elements = poor engraving.
Keep your laser engraving artwork design clean and readable.
Ignoring Material Differences
Not all wood burns the same.
Adjust your settings depending on material when using your wood engraving machine.
Skipping Test Runs
This is where most problems happen.
Always test your laser engraving artwork design before committing.
Advanced Tips for Better Results

Want cleaner and more professional output?
Use Layers in Your Design
Separate:
-
Engraving
-
Cutting
-
Scoring
This makes your laser engraving artwork design easier to manage.
Adjust Speed and Power Settings
Every wood engraving machine has sweet spots.
Experiment with:
-
Speed
-
Power
-
Passes
Reuse Templates
If you find a design that works, save it.
The Monport Reno45 allows template reuse, speeding up future laser engraving artwork design projects.
Key Takeaways
-
A good laser engraving artwork design is simple, clear, and high-contrast
-
Always match your design to your wood engraving machine capabilities
-
Test runs are not optional—they save time and materials
-
Choosing a reliable machine like Monport improves accuracy and efficiency
-
Smart features like camera alignment and autofocus make a big difference
FAQs
1. What is the best file format for laser engraving artwork design?
Vector files like SVG or AI are best for clean lines, while PNG or JPG works for images. A mix often works best.
2. Can beginners use a wood engraving machine easily?
Yes, especially with machines like Monport that have autofocus and camera alignment to simplify setup.
3. Why does my engraving look blurry?
Usually due to low-resolution files or poor laser engraving artwork design. Increase DPI and simplify your design.
4. How do I improve engraving quality on wood?
Use high-contrast designs, test settings, and ensure proper focus on your wood engraving machine.
5. Is Monport good for beginners and professionals?
Yes, it’s designed for both. Easy to use but powerful enough for advanced laser engraving artwork design projects.
Use code AUBLOG888 today and start creating better engravings with confidence.
Conclusion
Crafting the perfect laser engraving artwork design isn’t about being overly technical. It’s about understanding how your wood engraving machine works and designing with that in mind.
Once you get the basics right—contrast, simplicity, proper file setup—you’ll start seeing better results almost immediately. And when you pair good design with a capable machine like the Monport Reno45 Pro Vision, things just become easier. Faster setup, cleaner output, less wasted material.
If you’re serious about improving your engraving work, now’s a good time to upgrade both your design approach and your tools.
Shop Now and take advantage of better precision, speed, and workflow.
Use blog code AUBLOG888 for exclusive discounts.


Leave a comment