



 GPro 100W
 GA 100W
 GM Pro 60W
 Reno 65W
 Reno 65W Pro
 Reno 45W

Using a Laser to Cut Out Stickers: Materials, Methods, and Safety
8%
off
Hurry! Offer Ends Soon!
CODE: AUBLOG888
COPY
CODE
CODE
Mastering the process of using a laser to cut out stickers gives custom creators and small business owners complete control over precision contours, production speed, and material versatility. Traditional craft plotters often struggle with thick laminates or complex geometric shapes, making a dedicated co2 laser cutter an essential upgrade for expanding product lines. Whether you are crafting matte die-cut designs, glossy kiss-cut sheets, or decorative wooden labels, understanding laser settings and ventilation protocols ensures clean edges every single run.
When using a laser to cut out stickers, selecting the proper equipment and dialing in accurate beam parameters prevents charred paper backings. Utilizing a desktop co2 laser cutter allows crafters to slice through heavy printable synthetics effortlessly while leaving the backing sheet completely intact. Knowing how to balance power output, air assistance, and fume extraction is vital for anyone using a laser to cut out stickers at scale with a professional co2 laser cutter.

Selecting Safe Sticker Materials for Laser Processing
Not all printable sticker sheets handle laser thermal processing safely. Traditional vinyl stickers containing Polyvinyl Chloride (PVC) release hazardous hydrochloric acid gas when burned, which corrodes optical mirrors and poses severe health hazards.
Always select laser-safe sticker media such as printable polypropylene (BOPP), laser-compatible polyester, or kraft paper. Beyond standard paper, using a laser to cut out stickers opens the door to premium 3D adhesive labels and patches. You can apply double-sided adhesive backing to thicker sheets before processing to create unique, rigid tags.
For a high-end branding approach, try crafting adhesive-backed leather patches using full-grain leather, faux leather, or soft suede. If you favour a modern finish, cast acrylic and extruded acrylic sheets make incredible glossy 3D stickers for premium product packaging. You can also create organic, rustic labels using wood materials like baltic birch plywood, basswood sheets, cherry veneer, or bamboo.
While a standard laser cannot easily cut glass, pairing your custom leather, acrylic, or wood stickers with beautifully engraved glass jars creates a stunning mixed-media product. Just remember to avoid cutting stone and metal, as desktop systems are designed to excel with these softer, craft-friendly materials instead.
Kiss-Cut vs Die-Cut: Cutting Methods Explained

Understanding the structural difference between kiss-cutting and die-cutting dictates your workflow setup in software like LightBurn or AutoLaser.
Kiss-Cutting Precision
Kiss-cutting slices through the printed top film and adhesive layer while keeping the paper backing sheet completely whole. This method keeps multiple stickers organized on a single sheet for easy peeling and retail presentation. Achieving this requires low power and high vector speed so the light beam lightly scores the upper film layer.
Die-Cut Contours
Die-cutting cuts through both the sticker material and the entire release liner backing, yielding individual, custom-shaped stickers. To prevent tiny stickers from dropping through the honeycomb bed grids, use a low-power, high-speed pass with proper air assist to achieve clean separation without burning the paper perimeter.
Essential Safety and Workshop Ventilation Protocols
Operating a thermal cutting system on paper and synthetic films requires active safety measures. Paper backings can catch fire if left unattended, and adhesive fumes require immediate extraction.
Always maintain an active air assist system to extinguish localized flare-ups on paper backings. Maintain a dedicated fire extinguisher nearby, never leave active jobs unattended, and route exhaust fumes through an outdoor duct or multi-stage HEPA fume extractor to filter out particulate matter.
Production Setup and Machine Features
When scaling up sticker production, equipment stability, bed size, and airflow control make a noticeable impact on daily throughput. Investing in a reliable co2 laser cutter ensures you can handle bulk orders without constant machine downtime.
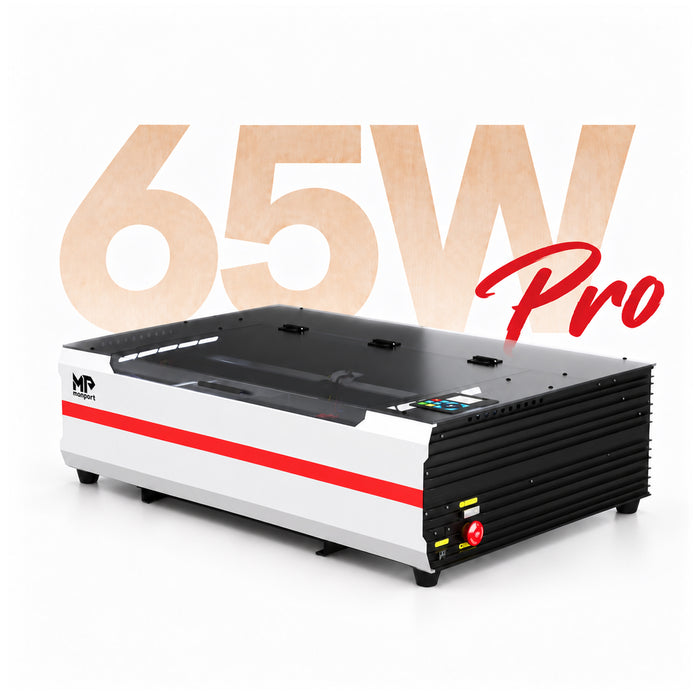
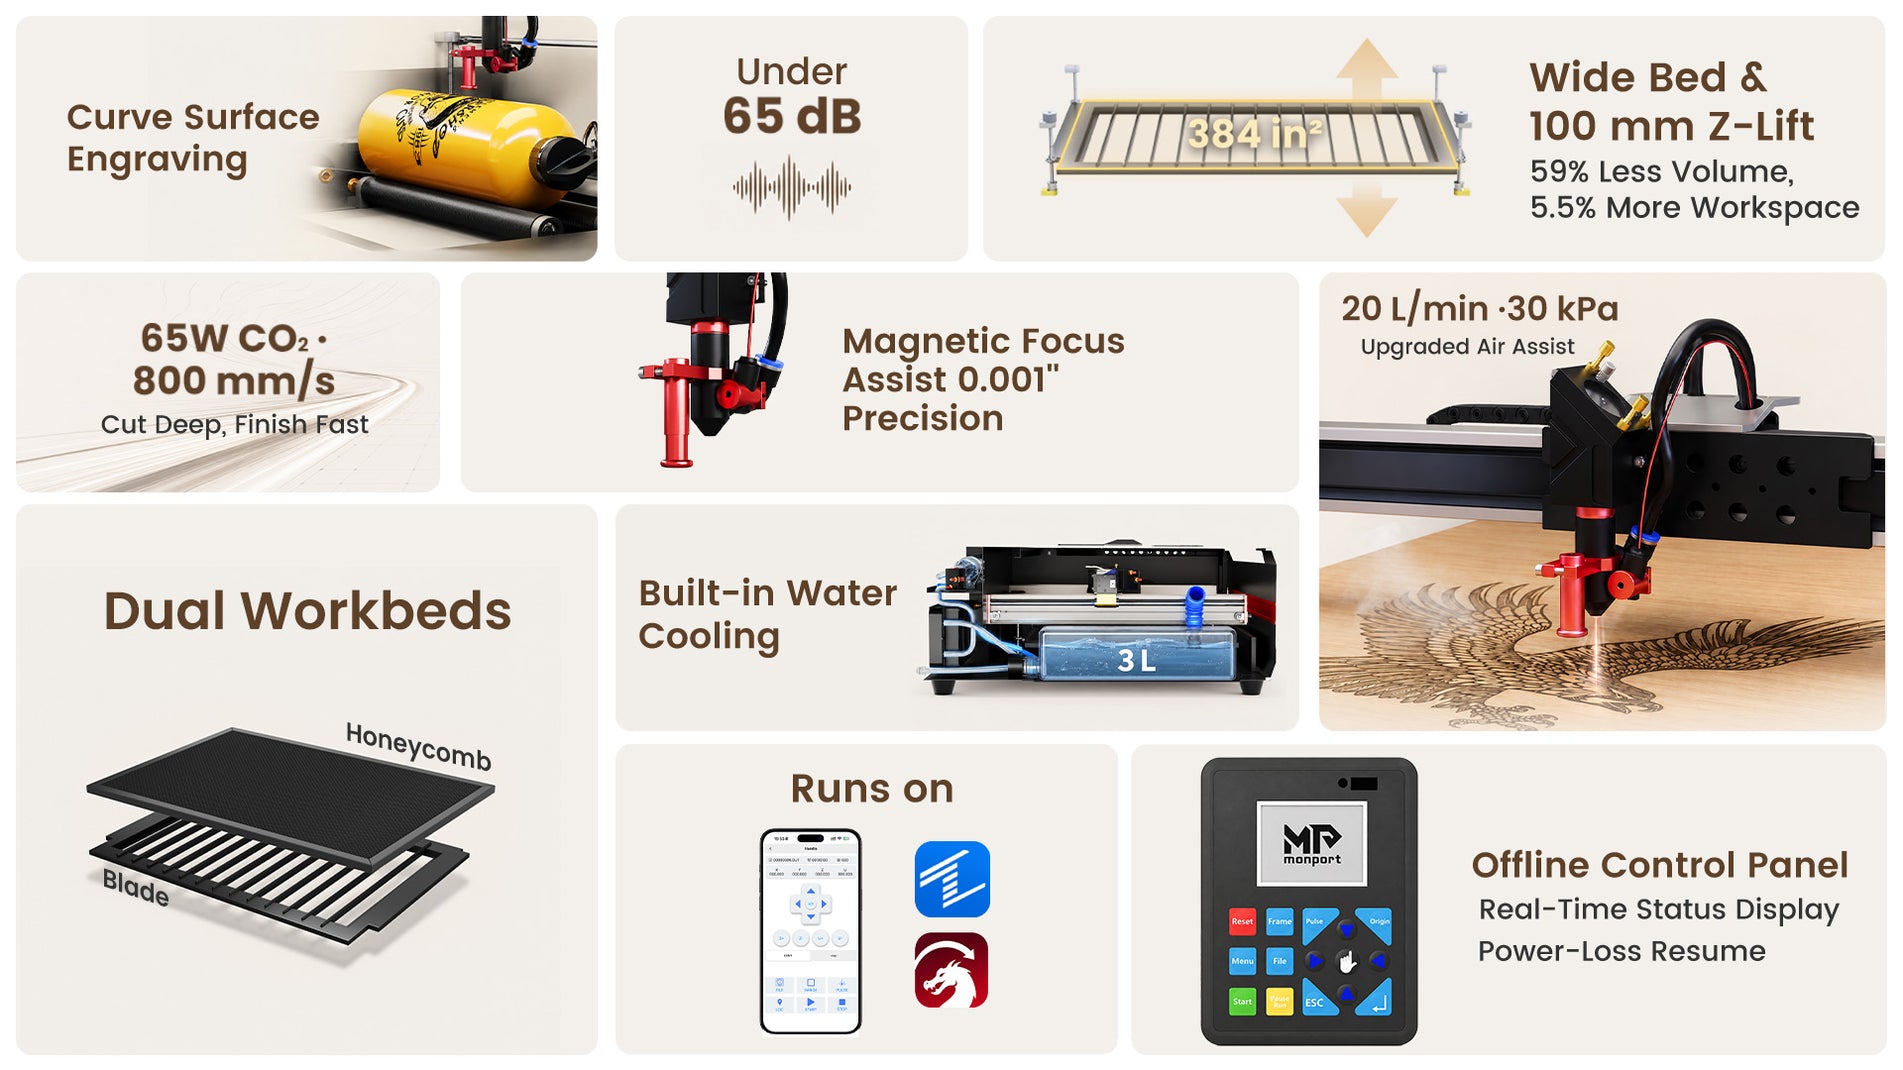
The Monport Reno65 Pro offers a complete desktop solution tailored for high-volume sticker projects. Rated at 65W, this desktop unit features a generous 24" × 16" (600 × 400mm) work area, a maximum engraving speed of 800mm/s, and a Z-axis movement of 4 inches (100mm). Equipped with a honeycomb workbed (640 × 440mm) and 13 blade workbed bars, it accommodates diverse material sizes alongside a hidden front pass-through size of 640 × 7mm.
Operating efficiency is elevated with its upgraded 11W air pump, delivering 20 L/min (30 kPa) of adjustable airflow that operates on-demand to save power and cut noise. A built-in 3L water cooling system featuring a 360mm radiator eliminates external water tanks, extending working time and maintaining stable cuts.
For visual accuracy, the system includes an 8 MP panoramic camera for precise alignment, while engraving resolution reaches up to 1000 DPI. Magnetic assisted focus ensures quick, repeatable focusing in seconds. Additional features include an LCD control panel with a 2.4-inch display screen, WiFi, USB, and U-DISK connectivity, and software support for LightBurn, AutoLaser, and mobile app operation.
Step-by-Step Sticker Cutting Workflow

-
Design and Print: Create vector cutlines around your artwork in your preferred design software. Print the graphics onto laser-safe synthetic sticker paper with registration marks.
-
Material Placement: Secure the sheet flat onto a honeycomb workbed using low-tack tape or bed hold-down pins to prevent curling under air assist pressure.
-
Focus and Align: Set machine focus precisely. Use built-in visual positioning tools or the 8 MP camera on modern machines to align vector cut paths with printed graphics.
-
Parameter Test Run: Perform a quick corner test. High speed combined with low laser power keeps paper edges bright and free from charring.
-
Execute and Monitor: Engage the fume extractor and air assist, hit start, and monitor the process until complete.
Key Takeaways
-
Always use laser-safe materials like polypropylene (BOPP), kraft paper, or thin wood veneers; never cut PVC vinyl.
-
Master kiss-cutting for sticker sheets and die-cutting for standalone individual stickers.
-
Maintain active air assist and dedicated ventilation to manage smoke and prevent flame flare-ups.
-
Verify material flatness on the honeycomb bed to ensure consistent focal depth across the entire job.
Frequently Asked Questions
Can you cut vinyl stickers with a laser cutter?
No, cutting traditional PVC-based vinyl release toxic chlorine gas that damages equipment components and poses serious health risks. Always choose PVC-free polyester, polypropylene, or paper alternatives.
What power setting is best for kiss-cutting sticker sheets?
Kiss-cutting requires very low power (typically 8% to 15% depending on tube wattage) and high vector speeds to score only the top film layer.
How do you prevent paper backing from burning during die-cuts?
Use an active air assist pump to blow away combusted gases quickly, clean the honeycomb bed regularly, and optimize pass speed.
Is an optical camera necessary for cutting printed stickers?
While manual point-alignment works, an integrated camera—such as an 8 MP panoramic camera—dramatically speeds up vector overlay alignment on pre-printed sheets.
Why are my sticker cut lines misaligned with the print?
Misalignment occurs if the sheet shifts during loading or if registration marks aren't accurately calibrated between printer drivers and laser software.
Mastering the technique of using a laser to cut out stickers offers unmatched speed, edge quality, and geometric flexibility for growing creative shops. By using laser-safe materials, implementing adequate fume exhaust, and operating a reliable co2 laser cutter, you can expand your product line into custom labels, decals, and specialty wooden sticker crafts with confidence.


Leave a comment